
How to Assemble and Take Down a Takedown Recurve
How to disassemble a recurve bow and reassemble it: fitting limbs, Hoyt's limb bolt limits, stringing with a stringer and a safe take-down order.
By Archery Insider Editorial Team
· 5 min read
In this article
To assemble a takedown recurve, fit each limb into its riser pocket the right way up, secure it as your bow's manual describes, then string it with a stringer and check it before shooting. To disassemble a recurve bow, reverse the order: unstring it first, then remove the limbs. Limb fittings vary, so your own manual always wins.
The parts of a takedown
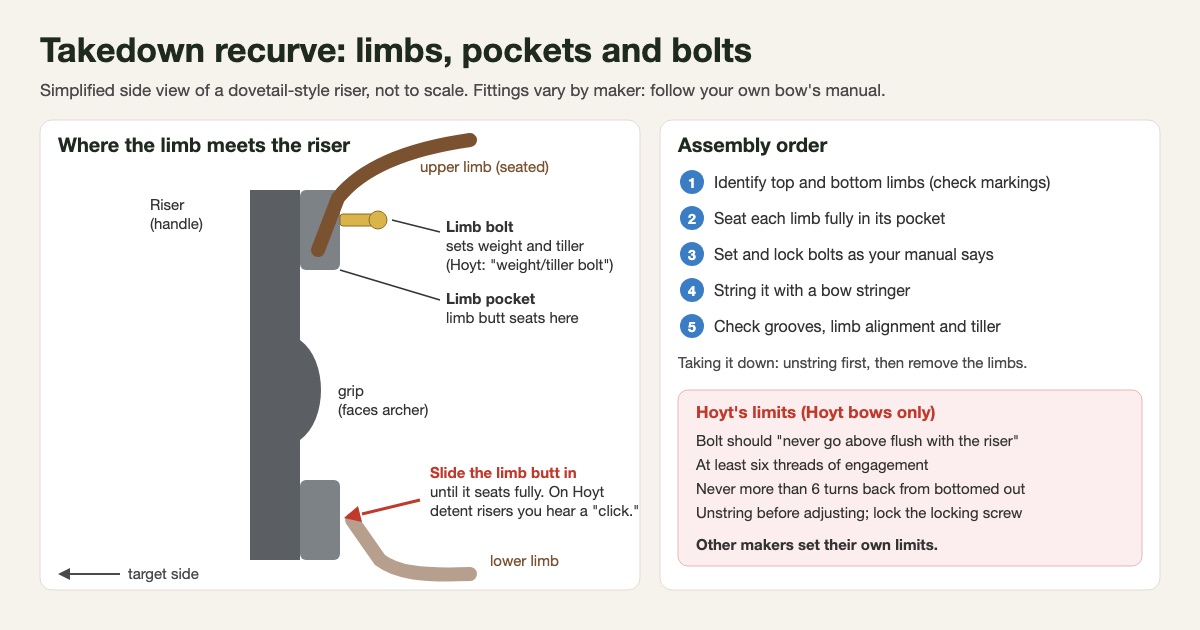
A takedown recurve has three main parts: a riser (the handle) and two limbs. Each limb's butt fits into a limb pocket at the end of the riser and is held by a limb bolt, knob or locking fitting.
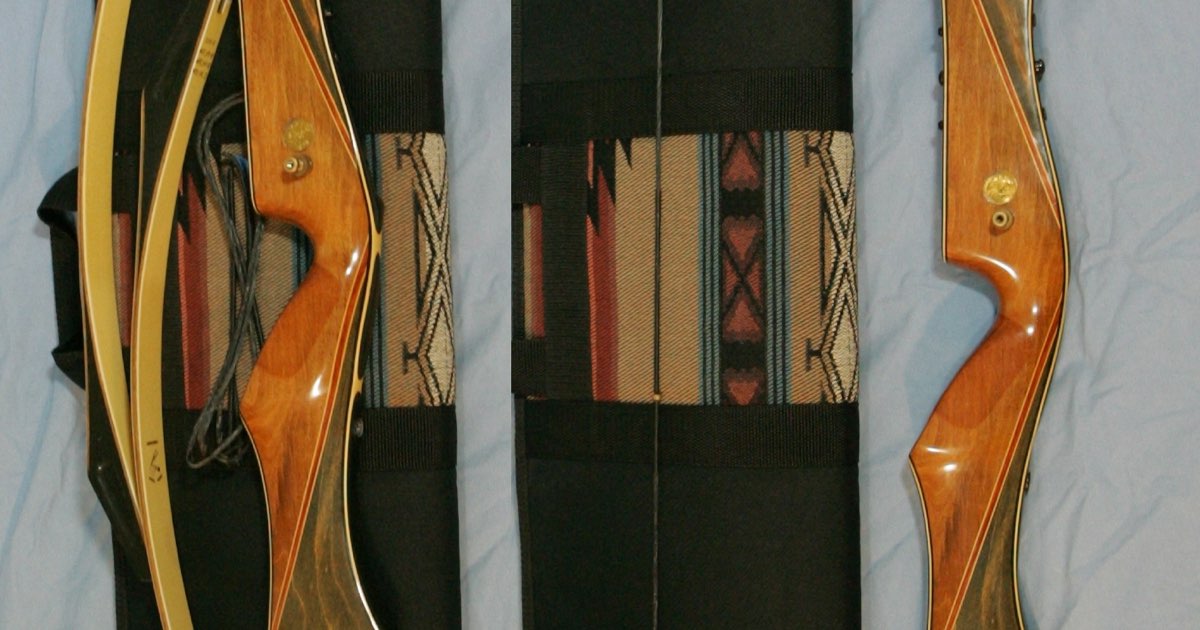
The fittings differ. Hoyt's manual describes a dovetail pocket with a detent that clicks when the limb seats. Bolt-on bows like the Samick Sage attach each limb with a single knob into a metal limb pocket, as our Samick Sage review explains.
Attaching the limbs
- Identify top and bottom. On Hoyt bows, the manual says "the limb noting specifications is the bottom limb." Other makers mark limbs differently, so check yours.
- Seat the limb fully. Hoyt's instruction for its detent risers: "Carefully insert the limb bushing into the dovetail groove in the pocket. Push the limb forward until the detent button engages. You should hear a 'click' indicating the limb is fully seated."
- Secure bolt-on limbs by threading the bolt or knob in as your manual describes. Snug is the goal; don't force it.
- Repeat for the other limb and check both sit square.
Limb bolts: follow your maker's limits
On many takedowns the limb bolt also sets draw weight and tiller. The figures below come from Hoyt's manual and safety page and apply to Hoyt bows only. Treat them as an example of the limits to look for in your own manual.
| Hoyt guidance (Hoyt bows only) | What it means |
|---|---|
| Weight adjustable "in a range of approximately 10%" | Bolts fine-tune weight; they don't replace heavier limbs |
| Adjust only once "the bow is unstrung" | Unstring before turning any bolt |
| Clockwise "will increase bow weight" | Counter-clockwise decreases it |
| Bolt "should never go above flush with the riser" | There must be "at least six threads of engagement" |
| "Never loosen... more than 6 turns from the bottomed-out position" | Hoyt warns this "could cause the bow to violently disassemble" |
| "Be sure to lock down the weight/tiller locking screw before shooting the bow" | Re-tighten the lock after every adjustment |
For tiller, Hoyt suggests starting "with 0-1/8" positive tiller" and turning the top and bottom bolts "in equal but opposite directions" to change tiller without changing weight.
Stringing and checking
Use a stringer, never the step-through method. Our recurve stringing guide shows each step; our bow stringer guide covers the designs.
Before the first shot, check both string loops sit fully in their grooves, sight down the string to confirm it runs down the centre of both limbs, measure tiller at both pockets and check brace height is in your maker's range. If a limb looks off-centre, unstring and reseat it.
Taking it down
- Unstring with the stringer.
- Release each limb as your manual describes: unscrew the knob or bolt on bolt-on bows, or follow your riser's release method on detent systems.
- Look after the hardware. Bear's manual says on takedown recurves "you should periodically apply a light coating of oil to steel sockets and limb attachment bolts to prevent rusting."
- Store it safely. Archery 360 says to "never store a recurve by standing it on one limb."
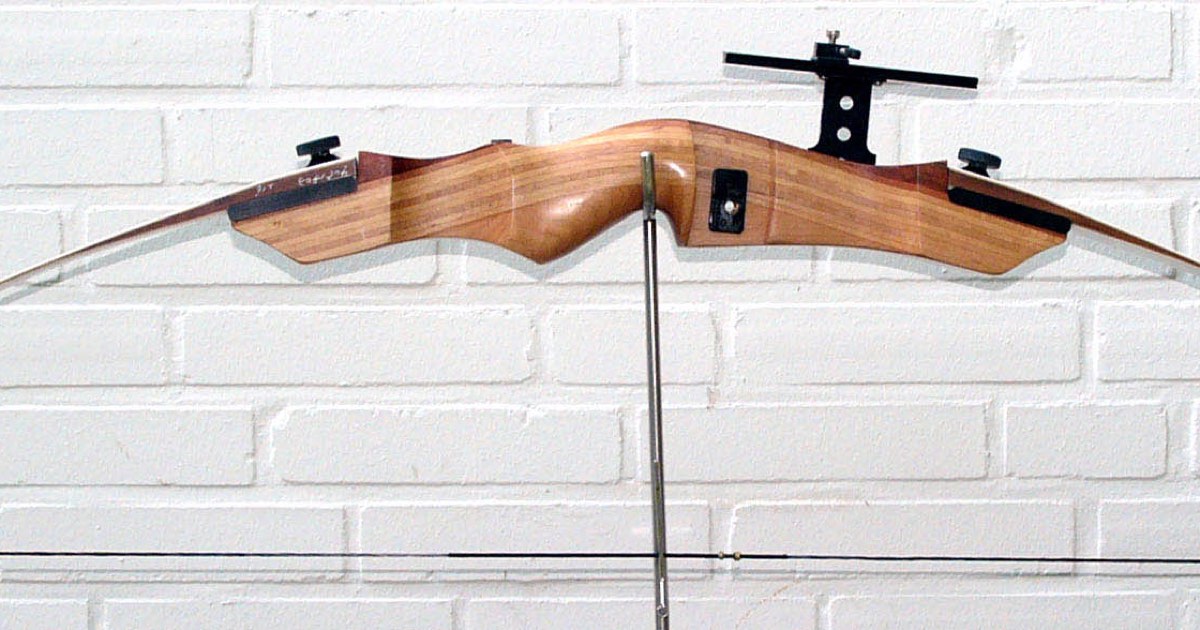
You can browse recurve bow stringers on Amazon. The Bear Archery A100RS Recurve Stringer is one example to consider; check it suits your bow's length and tips.
Frequently asked questions
How do you disassemble a recurve bow?
Unstring it first with a bow stringer. Then remove each limb as your manual describes: unscrew the knob or bolt on bolt-on bows, or release the fitting on detent risers. Never remove or adjust limbs with the string on, and store the parts together, out of heat.
Does it matter which limb goes on top?
Yes. Limbs are usually marked as top and bottom, and Hoyt's manual says its bottom limb is the one carrying the specifications. Makers mark them for a reason, so fit them as marked. If they aren't clearly marked, ask the maker.
How tight should limb bolts be?
It depends on your bow. Hoyt's adjustable bolts must never go above flush with the riser and must keep at least six threads engaged, with the locking screw tightened before shooting. Bolt-on bows have their own instructions, so follow your manual and never overtighten.
Related articles
 Training
How to String and Unstring a Recurve Bow Safely
How to string and unstring a recurve bow with a stringer, why step-through stringing twists limbs, post-stringing checks, brace height and string care.
Updated February 1, 2025 · 8 min read
 Reviews
Samick Sage Takedown Recurve Review: Still the Default First Bow?
Research-based Samick Sage review: the 62-inch takedown recurve's published specs, 25–60 lb limbs, who it suits, its limits and how it compares with rivals.
Updated May 21, 2025 · 5 min read
 Gear
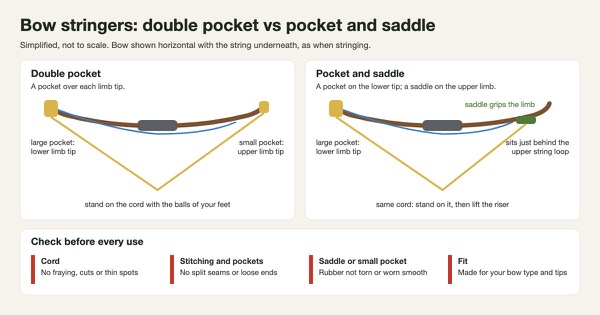
GearBow Stringers: Types and Why You Need One
What a recurve bow stringer does, double-pocket vs pocket-and-saddle types, longbow fit, why makers warn against step-through stringing, and what to inspect.
July 19, 2025 · 4 min read