
How to Choose Your First Recurve Bow: A Beginner's Guide
How to choose a first recurve bow: takedown vs one-piece, draw weight, bow length for your draw length, riser types, eye dominance, and essential accessories.
By Archery Insider Editorial Team
· · 11 min read
In this article
A recurve bow is the type most beginners start with, and for good reason. It is mechanically simple, it is the bow used in Olympic archery, and a takedown model can grow with you by swapping limbs.
The catch is that your first bow has to match your body. Get the draw weight or the bow length wrong and you will fight your equipment instead of learning the shot.
This guide walks through the decisions in the order that matters. By the end you will know exactly which specifications to look for and which to ignore.
The quick answer
If you want the short version, here it is. For most adult beginners a sensible first recurve is:
| Specification | Typical beginner choice |
|---|---|
| Type | Takedown recurve (riser plus two detachable limbs) |
| Limb fitting | ILF if the budget allows, otherwise a proprietary beginner fitting |
| Draw weight | Roughly 18 to 26 lb for adults, lighter for youth, confirmed with a coach |
| Bow length | 66 or 68 inches for most adults, matched to draw length |
| Hand | Chosen by dominant eye, not dominant hand |
| Riser | Aluminium alloy with sight and rest bushings if possible |
The rest of this article explains why each of those choices matters and when you should deviate from them.
Why a recurve is a good first bow
A recurve stores energy in its limbs, which curve away from the archer at the tips. When you draw the string the limbs bend. When you release, they return to shape and push the arrow forward.
There are no cams, cables, or let-off to adjust. That makes the bow easy to understand, easy to maintain, and easy to coach.
Recurve is also the discipline shot at the Olympic Games. That means an enormous amount of coaching knowledge, club support, and equipment choice has built up around it. If you later move to barebow, traditional, or compound archery, the fundamentals you learn on a recurve transfer directly.
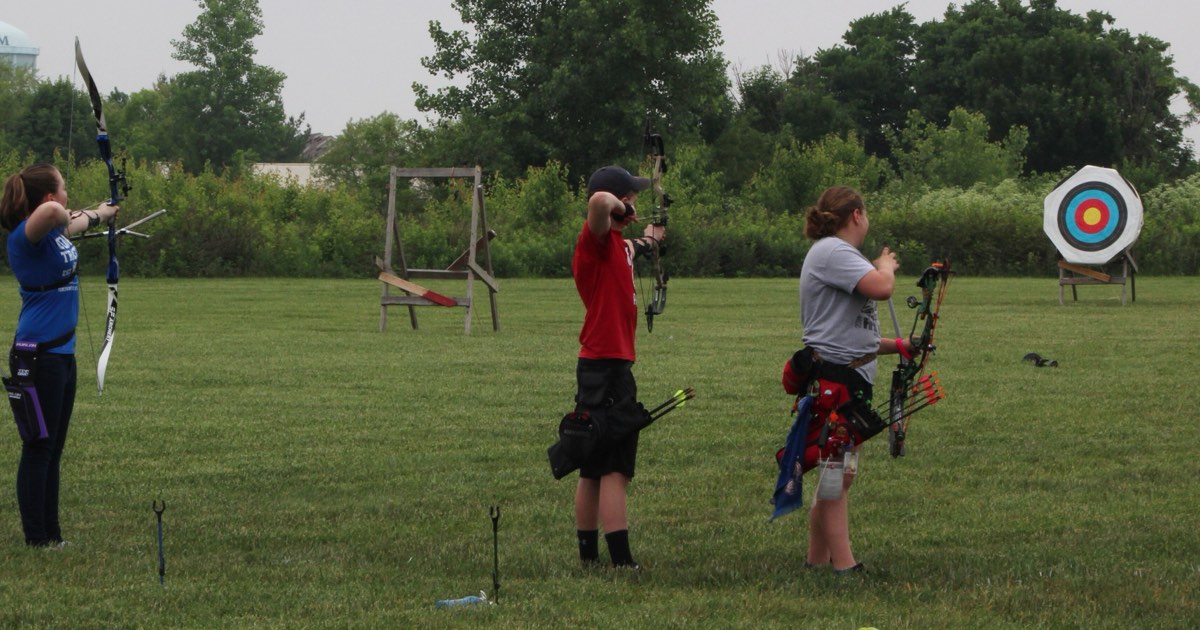
Anatomy of a recurve bow
Before comparing bows it helps to know the parts you will see on a spec sheet.
- Riser – the central handle section. It carries the grip, the arrow rest, and the threaded holes for accessories.
- Limbs – the upper and lower flexing sections that store energy. On a takedown they bolt or clip into the riser.
- String – usually a modern synthetic fibre. It has a nocking point that locates the arrow and a serving that protects the string where fingers and arrow touch it.
- Arrow rest – a small shelf or arm that supports the arrow on the riser.
- Brace height – the distance from the deepest part of the grip to the string when the bow is strung. Manufacturers publish a recommended range for each bow.
- Sight, stabiliser, clicker – optional accessories used in Olympic-style shooting. Beginners usually add these later.
Takedown vs one-piece recurve
| Takedown recurve | One-piece recurve | |
|---|---|---|
| Construction | Separate riser and two detachable limbs | Riser and limbs are a single piece |
| Changing draw weight | Replace the limbs only | Replace the whole bow |
| Transport and storage | Packs into a backpack-style case | Full length at all times |
| Typical use | Target archery, most beginners, Olympic recurve | Traditional and hunting styles |
For almost every beginner a takedown is the better choice. Your draw weight will increase as your muscles adapt. With a takedown you buy new limbs rather than a new bow, and the bow fits in a normal case.
ILF and proprietary limb fittings
Takedown risers accept limbs through one of two systems.
ILF (International Limb Fitting) is a widely adopted standard. ILF limbs from one manufacturer will fit ILF risers from another. That gives you the broadest possible choice when you upgrade.
Proprietary fittings are specific to a manufacturer or product line. Many entry-level packages use them. They work perfectly well, but your upgrade path is limited to that brand's limbs.
If an ILF riser fits your budget, it keeps your options open. If not, a proprietary-fit beginner bow is still a sensible place to start.
Draw weight: start lighter than you think
Draw weight is the force needed to pull the string to full draw, measured in pounds. On a recurve it is printed on the limbs and, under the AMO/ATA convention, it is measured at a 28-inch draw length.
Two things trip beginners up here.
You are learning a skill, not lifting a weight
Good form comes from repeating the same movement hundreds of times with your back muscles doing the work. A bow that is too heavy forces your shoulders and arms to take over. Your anchor point drifts, you snatch the release, and you are tired after a few ends.
Many clubs start adult beginners somewhere around 18 to 26 lb, and younger or smaller archers lower. Treat that as general guidance. If you are unsure, go lighter.
Your real draw weight depends on your draw length
Because the marked weight assumes a 28-inch draw, a longer draw adds weight and a shorter draw removes it. A widely used rule of thumb is roughly 2 lb per inch above or below 28 inches, although the exact figure varies between limb designs.
That means a 24 lb bow drawn to 30 inches may feel closer to 28 lb. If you have not measured your draw length yet, our guide to measuring your draw length takes two minutes.

Bow length and your draw length
Recurve bow length is the overall length of the assembled bow, usually from 62 to 70 inches for adult target bows. It needs to match your draw length so the limbs bend through a comfortable part of their range.
A bow that is too short for a long draw feels harsh and stacks, meaning the weight rises sharply at the end of the draw. A bow that is too long for a short draw can feel sluggish.
A commonly used guideline:
| Your draw length | Suggested bow length |
|---|---|
| Under 26 in | 62 to 64 in |
| 26 to 28 in | 66 in |
| 28 to 30 in | 68 in |
| Over 30 in | 70 in |
These are starting points, not rules. Manufacturers publish their own charts and coaches may recommend differently depending on the riser and limb combination.
Riser material and features
Beginner risers are typically made from one of two materials.
- Wood – traditional appearance, light in the hand, found on many entry-level and traditional bows.
- Aluminium or magnesium alloy – more consistent, usually heavier, and standard for Olympic-style target bows. Alloy risers almost always include threaded bushings for accessories.
Features worth looking for on a first riser:
- Sight bushings, so you can add a sight later.
- A threaded rest hole, so you can move from a stick-on rest to an adjustable one.
- A stabiliser bushing below the grip.
- Adjustable limb bolts on some models, which fine-tune draw weight within a small range.
You do not need to use any of these on day one. They are the difference between a bow you can grow into and one you will replace in six months.
Right-handed or left-handed: check your dominant eye
A right-handed bow is held in the left hand and drawn with the right. The better question, though, is which eye is dominant, because you aim with your eye.
To check:
- Extend both arms and make a small triangle with your hands.
- Look through it at a distant object with both eyes open.
- Close one eye at a time. The eye that still sees the object through the triangle is dominant.
If your dominant eye is on the opposite side to your dominant hand (cross-dominance), coaches commonly recommend shooting on the side of the dominant eye. A coach can confirm the best choice in a single session.
Step by step: choosing your first recurve
- Measure your draw length using the wingspan method or at full draw with a helper.
- Pick a bow length from the table above.
- Choose a light draw weight you can hold comfortably, ideally after trying bows at a club.
- Decide on the riser: ILF alloy if the budget allows, otherwise a well-reviewed proprietary beginner riser.
- Check hand orientation against your dominant eye.
- Add the essentials listed below before your first session.
The essentials you also need
A bow alone is not a usable setup. Plan for the following.
| Item | Why it matters |
|---|---|
| Arrows matched to you | Length must exceed your draw length; stiffness (spine) must suit your draw weight |
| Arm guard (bracer) | Protects your forearm from the string |
| Finger tab or glove | Protects fingers and gives a cleaner release |
| Bow stringer | Strings the bow safely without twisting the limbs |
| Arrow rest and nocking point | Positions the arrow consistently on every shot |
| Target and a safe place to shoot | A club is best for safety and coaching |

A note on arrows
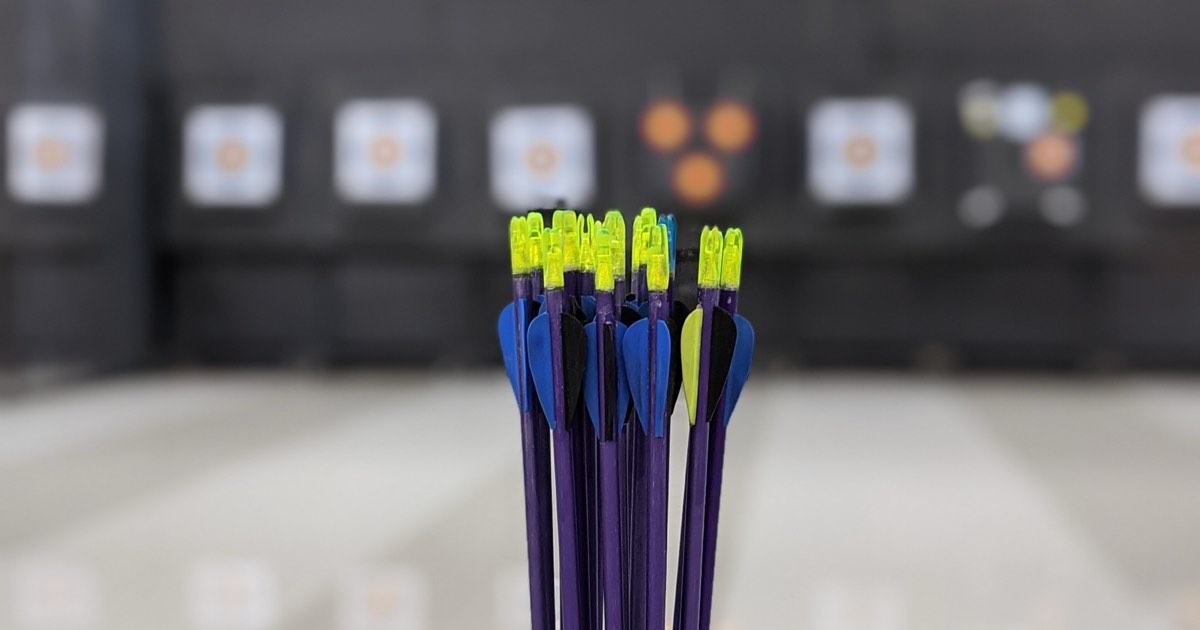
Arrows deserve their own decision. Arrow length should be comfortably longer than your draw length so the point stays in front of the rest at full draw. Arrow spine (stiffness) must suit your draw weight and arrow length. Arrow manufacturers publish spine charts that take both into account, and a shop or coach can read one with you.
Setting up and caring for your first bow
A few basics will keep the bow shooting well.
- Brace height. Check the manufacturer's recommended range and adjust by adding or removing twists in the string. Too low and the bow can feel harsh; too high and it loses efficiency.
- Nocking point. Set with a brass nock or tied serving so the arrow sits in the same place on every shot. A coach can set this for you in minutes.
- Stringing and unstringing. Always use a stringer. Many manufacturers of wooden bows recommend unstringing after use; check the instructions that came with your bow.
- Storage. Keep the bow out of hot cars and direct sun, which can damage limbs and strings.
- Inspection. Look for limb cracks, string fraying, and loose limb bolts before each session.
New or used?
A used riser from a reputable brand can be excellent value because risers rarely wear out. Used limbs deserve more caution: inspect them for twist, delamination, and cracks, and remember that the marked draw weight may not be what you need.
If you buy a complete used setup, check that the draw weight and bow length actually suit you rather than the previous owner.
What drives the cost
We do not list prices because they change constantly and vary by region. What you can expect to pay more for:
- an ILF riser rather than a proprietary fitting,
- an alloy riser rather than wood,
- higher-quality limb materials (foam or carbon cores rather than wood and fibreglass),
- a complete package that includes arrows, rest, and accessories.
Entry-level takedown recurve packages are sold across a wide range of budgets. If you would like to see what is available, you can browse takedown recurve bows on Amazon. Compare the listed draw weight, bow length, and limb fitting against what you have learned here before you compare prices.
Common mistakes to avoid
- Buying too much draw weight because it seems more serious. Form first, weight later.
- Guessing your draw length and ending up with the wrong bow length and arrows.
- Skipping the stringer and twisting the limbs.
- Choosing by hand rather than eye when cross-dominant.
- Ignoring arrow spine and buying arrows that are too weak or too stiff for the bow.
- Buying accessories first. A sight and stabiliser do nothing for a beginner whose draw weight is wrong.
Frequently asked questions
Is a recurve or compound bow better for beginners?
Both can work, and the right answer depends on your goals. Recurve is simpler to maintain and is the Olympic discipline. Compound offers let-off that makes holding at full draw easier. Our compound vs recurve comparison covers the full picture.
What draw weight should an adult beginner start with?
Many clubs start adults around 18 to 26 lb. Your coach will adjust that based on your build and how you handle the bow. Lighter is safer for learning.
Can I hunt with a beginner recurve?
Hunting regulations in many regions set a minimum draw weight for taking game, and those minimums are typically well above beginner target weights. Check your local regulations and build up to a legal, ethical weight before hunting.
How long will a beginner bow last?
A well-cared-for riser can last many years. Limbs are the component you will most likely replace as your draw weight increases, which is exactly why a takedown is recommended.
Do I need a sight?
Not at first. Many coaches start beginners without a sight so they learn a consistent anchor and release. You can add a sight later to a riser that has the bushings for it.
Related articles
 Training
Archery Draw Length: How to Measure It and Why It Matters
How to measure archery draw length with the wingspan method or at full draw, what the AMO standard means, and how it affects bow size, draw weight, and arrows.
Updated February 6, 2025 · 8 min read
 Training
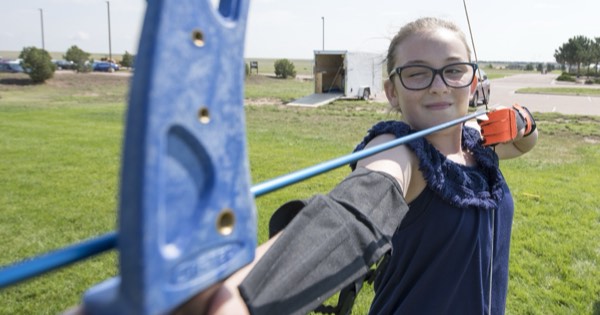
How to String and Unstring a Recurve Bow Safely
How to string and unstring a recurve bow with a stringer, why step-through stringing twists limbs, post-stringing checks, brace height and string care.
Updated February 1, 2025 · 8 min read
 Guides
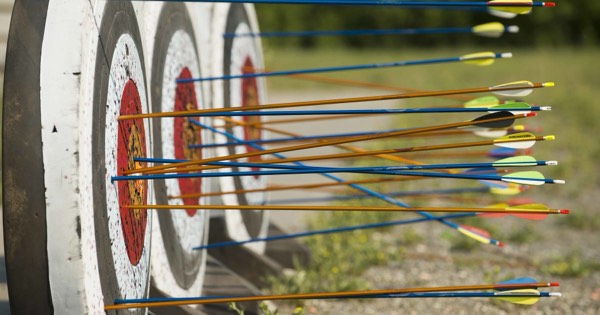
How to Choose Arrows: Spine, Length, Weight and Spine Charts
How to choose arrows: what spine means, reading a spine chart, measuring arrow length, arrow weight and FOC, fletching, and bare-shaft tuning to confirm it.
Updated June 26, 2026 · 9 min read