
Bohning Tower Jig Review: Fletch Three Vanes at Once
Bohning Tower Jig review: fletching three vanes at 120 degrees, straight, offset and helical arms, clamps and centring pins, shaft sizes, and how to use it.

By Archery Insider Editorial Team
· 6 min read

In this article
Re-fletching your own arrows saves money, gets damaged arrows back in the quiver the same evening, and lets you experiment with vane size and angle. The tool that makes it practical is a fletching jig. Bohning's Tower Jig is popular because it fletches three vanes at once rather than one at a time. This review explains how it works, which version to buy, and how to get good results.
The short version
The Tower Jig holds an arrow vertically with three clamps arranged 120 degrees apart, so all three vanes go on in one step. The Helix Tower version has a 3-degree right helical set-up for vanes up to 2.25 inches, and comes with interchangeable posts for standard, pin-nock, F-nock, A-nock and crossbow arrows. The Complete Tower Jig Kit adds three arm sets: straight (vanes up to 4 inches), helical (3 degrees right, up to 2.25 inches) and offset (1 degree right, up to 4 inches), with two clamp sizes and five centring pins for shafts up to 23/64 inch outside diameter.
Archers who re-fletch their own arrows
Bohning Tower Jig (Complete Kit)
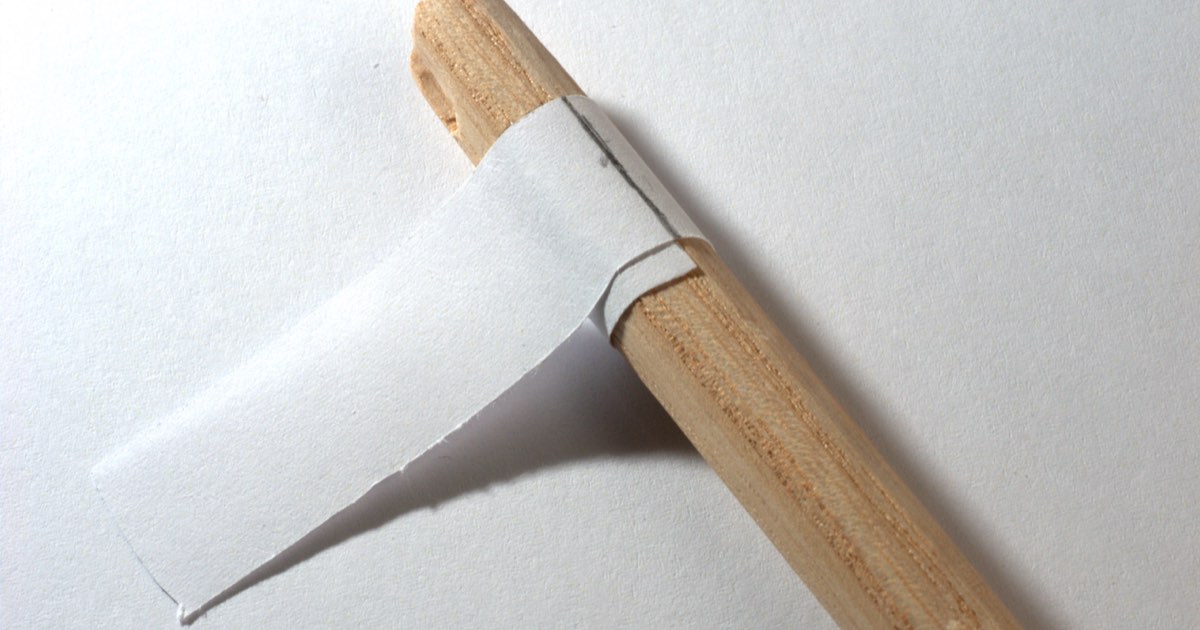
A three-at-once fletching jig that cuts re-fletching time to roughly a third of a single-clamp jig. The Complete Kit's three arm sets cover straight, offset and helical fletching.
- Vanes per cycle
- 3, spaced 120°
- Straight arms
- Vanes up to 4 in
- Helical arms
- 3° right, vanes up to 2.25 in
- Offset arms
- 1° right, vanes up to 4 in
- Clamps
- Two sizes (small and large)
- Centring pins
- 5, for carbon and aluminium shafts
- Shaft size
- Up to 23/64 in outside diameter
Specifications: retailer listings of Bohning product information (see Sources)
Straight, offset or helical?
| Style | What it does | Typical use |
|---|---|---|
| Straight | Vanes run parallel to the shaft | Target arrows with small vanes; minimal drag |
| Offset (for example 1° right) | Vanes angled slightly to start the arrow spinning | General use, field points and many broadheads |
| Helical (for example 3° right) | Vanes curved around the shaft for strong spin | Broadheads and arrows that need extra stabilisation |
More spin stabilises the arrow, especially with broadheads, at the cost of a little speed. Our guide to choosing arrows explains how fletching fits into arrow set-up.
Which version to buy
- Helix Tower: a single helical configuration (3° right, vanes up to 2.25 inches) with posts for most nock types. Good if you always fletch the same way.
- Complete Tower Jig Kit / Triple Tower: three arm sets for straight, offset and helical. Good if you fletch different arrows or want to experiment.
Check that the nock post matches your arrows. Pin nocks, standard nocks and crossbow nocks each need a different post.
How to re-fletch with a tower jig
- Strip the old vanes and remove all glue residue with a stripping tool, without scratching the shaft.
- Clean the shaft where the vanes will sit. Most adhesive makers recommend an alcohol or solvent wipe; follow the instructions for the glue you use.
- Load the vanes into the three clamps, positioned the same distance from the end of each clamp so they sit at a consistent distance from the nock.
- Seat the arrow on the post with the correct centring pin.
- Apply a thin bead of fletching glue to the base of each vane.
- Close the clamps onto the shaft and leave them for the glue's recommended setting time.
- Open the clamps carefully and let the arrow cure fully before shooting.
- Add a drop of glue to the front and back of each vane for durability, if your glue maker recommends it.
Tools and supplies you will also need
| Item | Why |
|---|---|
| Fletching adhesive | Formulated for vanes on carbon or aluminium |
| Vane stripping tool | Removes old vanes without damaging the shaft |
| Shaft cleaner or alcohol wipes | Clean surface for good adhesion |
| Vanes or feathers | Matched size and colour for the whole set |
| Nock wrench or spare nocks | Replace nocks while re-fletching |
| Arrow saw (optional) | Cut shafts to length if building new arrows |
Tips for consistent results
- Measure clamp position so every vane sits the same distance from the nock.
- Use the right centring pin for each shaft size.
- Do not rush the glue: let each set cure fully before shooting.
- Fletch in batches of three or six, then shoot them together with your existing arrows to check they group the same.
- Keep the jig clean; glue residue on clamps spoils the next vane.
When to re-fletch
- A vane is torn, peeling at the ends, or missing.
- Arrows that used to group start flying differently.
- You change from field points to broadheads and want more helical.
Common mistakes
- Skipping shaft cleaning and having vanes peel off.
- Mixing straight and helical arrows in one set.
- Using the wrong nock post, which puts the index vane in the wrong place.
Who the Tower Jig suits
- Archers who shoot a lot and damage vanes regularly.
- Hunters who want to fletch helical for broadheads.
- Clubs and families fletching arrows for several archers.
Who should look elsewhere
- Archers who fletch with feathers for traditional bows may prefer a single-clamp jig designed for feathers, though Bohning sells feather arms for its tower system.
- Anyone who rarely re-fletches, for whom a shop service is simpler.
Bohning Tower Jig
Advantages
- Fletches three vanes at once, spaced 120°
- Straight, offset and helical options (Complete Kit)
- Posts for standard, pin, F, A and crossbow nocks (Helix Tower)
- Handles shafts up to 23/64 in outside diameter
Trade-offs
- Helical arms limited to vanes up to 2.25 in
- Right-hand helical and offset as standard
- Glue curing still sets the overall pace
- Several versions; check which arms and posts are included
You can see the Bohning Complete Tower Jig Kit on Amazon. Check which arms and nock posts the listing includes.
Tower jig versus single-clamp jig
| Tower jig (three clamps) | Single-clamp jig | |
|---|---|---|
| Vanes per glue cycle | Three | One |
| Speed for a dozen arrows | Fastest | Slowest |
| Flexibility for odd vane counts | Designed for three-vane set-ups | Any number of vanes |
| Feathers | With feather arms | Common choice for traditional archers |
| Cost and space | Higher, larger | Lower, compact |
Frequently asked questions
How long does a dozen arrows take?
With a three-clamp jig, a dozen arrows takes twelve glue cycles instead of thirty-six. The adhesive's setting time decides how long each cycle takes.
Can I fletch four vanes?
The tower jig is designed for three vanes spaced 120 degrees apart. Four-fletch set-ups need a jig with a four-way indexer.
What glue should I use?
Use a fletching adhesive recommended for your vane and shaft materials, and follow its cleaning and curing instructions. Bohning and other makers sell glues designed for vanes on carbon and aluminium.
Can I fletch crossbow bolts with it?
Yes, with the crossbow post, which Bohning supplies with the Helix Tower and sells separately.
Right or left helical?
Right helical is the most common choice. What matters most is that every arrow in a set is fletched the same way.
Sources
- Bohning Helix Tower Fletching Jig – Lancaster Archery Supply
- Bohning Complete Tower Jig Kit – Bowhunters Superstore
- Bohning Triple Tower Jig (straight, helical or offset) – The Hunting Shop
Related articles
 Guides
How to Choose Arrows: Spine, Length, Weight and Spine Charts
How to choose arrows: what spine means, reading a spine chart, measuring arrow length, arrow weight and FOC, fletching, and bare-shaft tuning to confirm it.
Updated June 26, 2026 · 9 min read
 Reviews
Gold Tip Hunter XT Arrows Review: A Workhorse Hunting Shaft Explained
Research-based Gold Tip Hunter XT review: ±.003 in straightness, .246 in bore, spines 250 to 500, how to pick a spine for your compound, and who these.
August 6, 2025 · 4 min read
 Reviews
Easton XX75 Jazz Arrows Review: The Beginner Aluminium Standard
Research-based Easton XX75 Jazz review: 7075 alloy, ±.005 in straightness, sizes 1214 to 2016, how to pick a size for your recurve, and when to move to carbon.
Updated August 6, 2025 · 4 min read